Labels
Introduction
Labels enable you to organize, track and filter events in your production application. OverOps enables grouping events by tagging them with custom labels. You can mark them according to importance, the responsible team member, the area in the code, or any other category that suits your workflow. Once you create a label, your team members can use it to tag events themselves.
Labeling Events
To apply a label to an event:
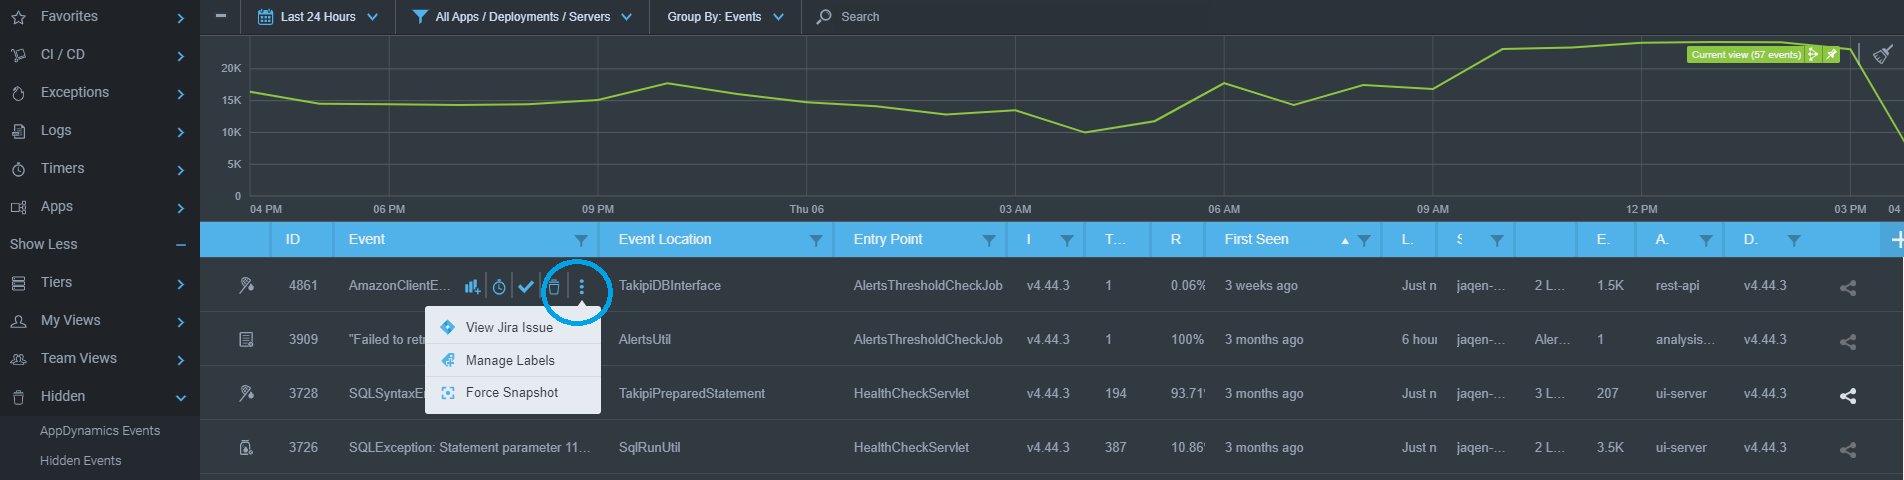
- From the Dashboard click the vertical ellipses as shown below and click the "Manage Labels" link.
- In the list of available labels, select any of the existing labels to add to your current Event.

- To add a new label, click Create New.
This displays the "Create a New Label" window.

- Enter a label in the window and click Create, then follow the steps above to apply the new label.
- When finished, click Apply.
Filtering by Labels
By default, labels are hidden from the Event List.
To display Label filters:
- In the Event List, click the plus sign (+) to display the Restore Defaults window.
- Go to the Labels option (you may need to scroll down to it) and select it.

- Click Apply to save your changes.
Saving Filtered Labels as a View
Labels also provide a way to group and sort events, similarly to the filters that enable you to filter exceptions (see filters for details).
To create a View for filtered labels:
- From the filtered Event List, click Save View.
- From the View Settings tab, configure View settings and click NEXT.
- From the Alert Setting tab, set alerts for this View click Save & Finish.
Deleting Labels
Deleting a label removes it from all the items to which it is applied.
To delete labels:
- From the Event List, click the the vertical ellipses and select Manage Labels

- Click Delete Existing Key Labels.

- In the Labels list, click the x beside the label to delete, and then click Done.

WarningDeleting a label removes the label from ALL events.
Related Articles
Updated about 1 year ago