Enable HTTPS
This section describes how to set up Storage Server (aka Variable Store) communication over HTTPS. Make sure that you've completed the On-Premises Data installation before starting. If you're using a publicly signed certificate, skip the section Auto-Generating a Self-signed Certificate, and go to the section Switching to HTTPS using a Publicly Signed Certificate.
Variable Store may simultaneously serve both HTTP and HTTPS connections. Part of the deployment architectures involves deciding when to use each one and depends on the network topology.
In a secured connection, the browser does not warn against ‘Unsecured scripts’. OverOps recommends using a publicly signed certificate to avoid having to manually accept the self-signed certificates. Connections to the Collector using HTTPS requires the Collector to trust the Variable Store. When using self-signed certificates, this may require a manual step. Since the data objects are encrypted at the source, even on HTTP mode, no sensitive data is transmitted unencrypted at any time.
Auto-Generating a Self-signed Certificate
OverOps provides a tool to auto-generate a self-signed certificate:
- From the browser, go to: https://storage-cert-gen.takipi.com/ The certificate generating page opens:
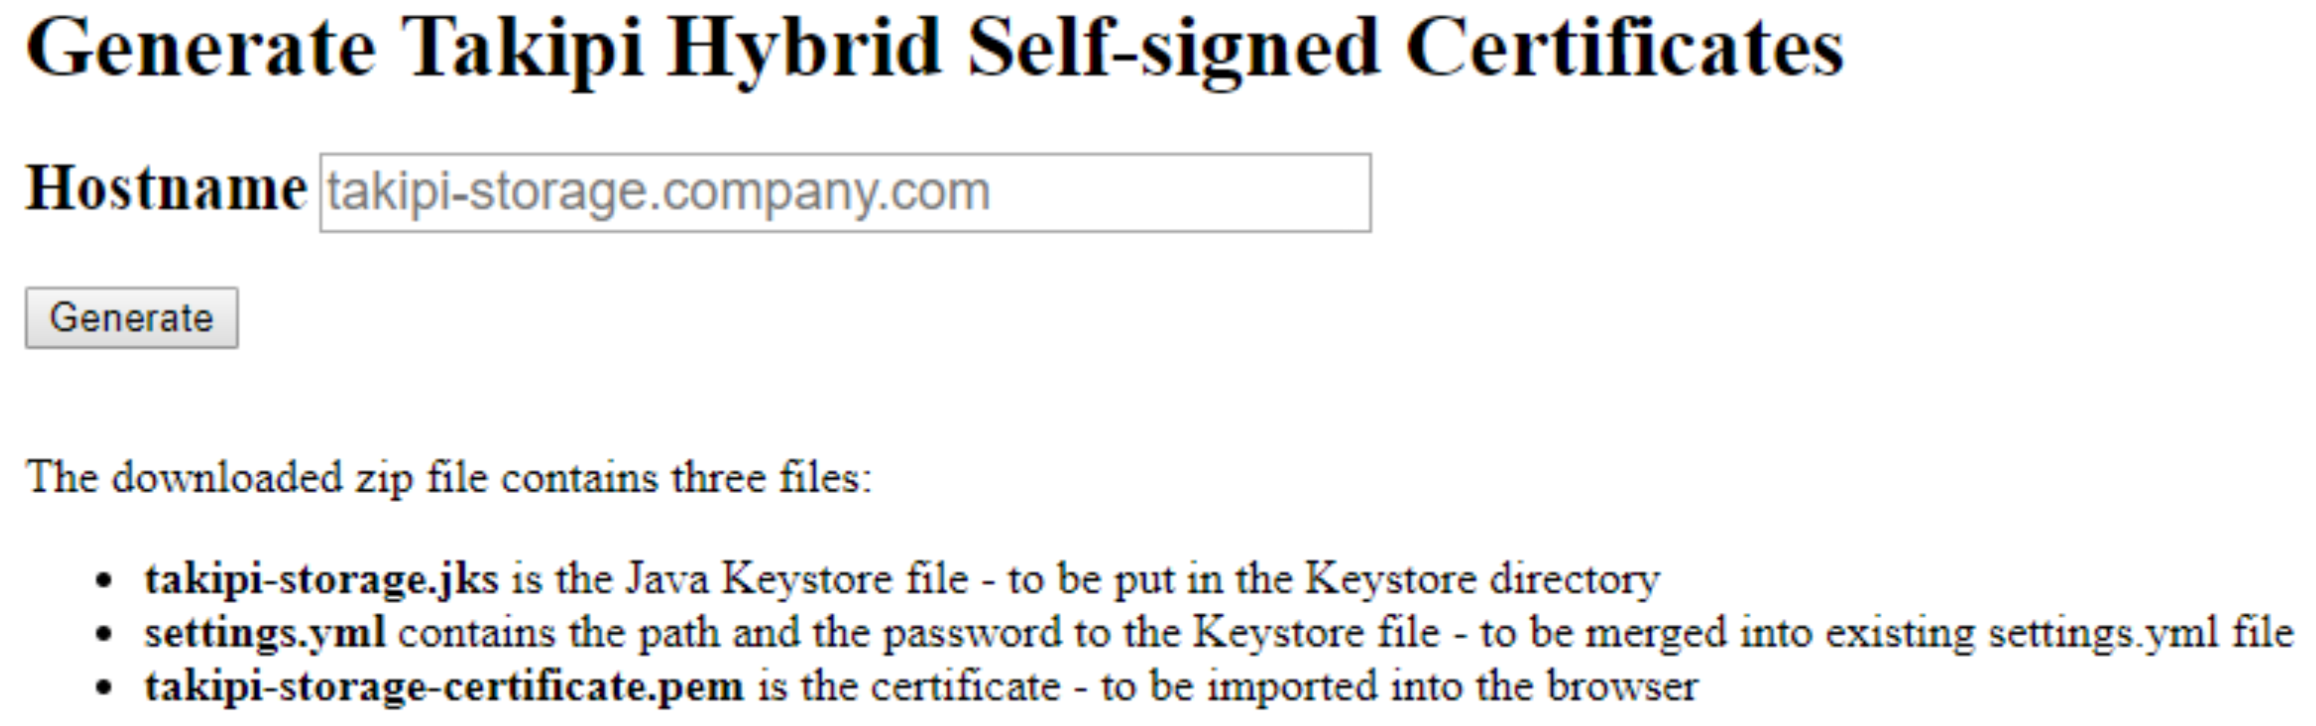
- Enter the hostname of the server to be trusted by the certificate and click Generate. The zip file is automatically downloaded.
- Extract the files into the chosen directory. The zip file contains three files:
- settings.yml contains the path and the password to the keystore file
- takipi-storage.jks is the Java Keystore file
- takipi-storage-certificate.pem is the certificate.
- Open the settings.yml file and merge the HTTPS parameters into the existing settings.yml file on the Variable Store:
applicationConnectors:
      - type: http
        port: 8080
      - type: https
        port: 8443
        keyStorePath: /opt/takipi-storage/<STORAGE_KEYSTORE_FILE>
        keyStorePassword: <STORAGE_KEYSTORE_PASSWORD>
validateCerts: false- Move the takipi-storage.jks file in the keystore directory according to the keystore path in your settings.yml file.
- Load the certificate to your java keystore for the server(s) on which the collector(s) are running
To load the trusted Storage Server certificate to the collector's java keystone follow these steps: Load the trusted Storage Server certificate to the collector's java keystore (Optional)
- In the collector.properties file change the following line (only for local storage) from
takipi.storage.test.url=https://s3.amazonaws.com/app-takipi-com/ConnectionTesttotakipi.storage.test.url=https://<STORAGE_HOST>:8443/storage/v1/diag/ping - Restart the Variable Store:
sudo service takipi-storage stopsudo service takipi-storage start - Optional: From the browser, import the takipi-storage-certificate.pem file. This procedure is different for each browser.
- Verify the secured connection by entering the
https://<STORAGE_HOST>:8443/storage/v1/diag/pingURL in the browser. The output for a secured connection is: OK
Using a Publicly-signed Certificate
When using a publicly-signed certificate, you have to switch HTTP to HTTPS. Before switching to HTTPS, verify that the standard HTTP port is up and running.
To switch to HTTPS:
- From the keystore directory, copy the takipi-storage.jks file to the Variable Store directory in
/opt/takipi-storage. - Update the Storage Settings file
/opt/takipi-storage/settings.ymlwith the HTTPS settings. Add or uncomment the highlighted lines to match the following:
applicationConnectors:
      - type: http
        port: 8080
      - type: https
        port: 8443
        keyStorePath: /opt/takipi-storage/<STORAGE_KEYSTORE_FILE>
        keyStorePassword: <STORAGE_KEYSTORE_PASSWORD>
validateCerts: false-
Restart the Variable Store:
sudo service takipi-storage stopsudo service takipi-storage start -
Open the Settings by clicking Settings in the top navigation bar.
-
Under the Installation tab, select Storage, and update the access settings for the Web app-facing address to use HTTPS and the new port. The storage address should continue to use HTTP.
The Variable Store address format is: https://<STORAGE_IP>:<STORAGE_PORT> e.g. https://127.0.0.1:8443.
When the browser accesses the server with a different IP address/hostname, click the checkbox and set it in the web app-facing address field.

- Set the Host name (web application) and the Variable Store addresses.
The address format is: http://<IP_ADDRESS>:<PORT> Example: http://127.0.0.1:8080
- If the browser is using a different IP address/hostname to access the server, set it in the Frontend hostname field.

Using an HTTPS Proxy
Alternatively, the Variable Store can run only on HTTP and set up an HTTPS proxy to offload the encryption and keep the keystore in a single place. This requires a number of considerations:
- The proxy must be set at the root of the virtualhost, i.e
https://<VIRTUAL_HOSTNAME>/ - The URL in the dashboard must be updated to one of the proxies. This can be done for both access from the browser (web app-facing address) and access from the monitored servers running the Collector process.
- If connecting from the Collector using HTTPS, the server running the Collector must have the trusted certificate.
To load the trusted Storage Server certificate to the collector's java keystone follow these steps: Load the trusted Storage Server certificate to the collector's java keystore (Optional)
Verifying the HTTPS Setup
- From the browser, go to the the Variable Store diagnostic URL
https://<STORAGE_IP>:<STORAGE_HTTPS_PORT>/storage/v1/diag/pingE.g: https://127.0.0.1:8443/storage/v1/diag/ping If the cerficate is not signed, indicate that you trust the Variable Store when accessing it from the browser. - Verify connectivity from the Collector host using cURL:
curl -I -k https://<STORAGE_IP>:<STORAGE_HTTPS_PORT>/storage/v1/diag/ping
Once the connection is established from the web application to the Collector and the Variable Store, the OverOps is active status appears on the top left corner of the <<glossary:Dashboard>>:

The Variable Store is now installed and active.
Updated about 1 year ago