OverOps for Java on Windows
This article walks you through the process of installing OverOps on your laptop or local PC Java application using Windows.
Software and Hardware RequirementsOverOps requires 64bit Windows and 64bit Java. Refer to the OverOps Installation Prerequisites for details.
In addition, verify that Java is already installed before you begin the collector installation.
Monitoring Java 10/11 ApplicationsIf you wish to monitor Java 10/11 applications, you'll need to set the relevant JVM flags for each version. Class Data Sharing should be turned off; which can be done using the following flags:
For Oracle (Hotspot) Java:
-Xshare:off XX:-UseTypeSpeculation
For IBM Java:
-Xshareclasses:none
Here is a video describing the process
Install the Java Micro-Agent and Collector
-
Click here to download and run the OverOps installer.
Note that the OverOps MSI deploys the relevant files (.dll, libs, db) under the OverOps directory (C:\Takipiby default). In addition, the MSI sets environment variables for the CLR used by the IIS to load the Micro-Agent. -
In the Welcome screen, click Next to run the installer.
- Enter your installation key (aka secret key), which you can find in your welcome email or in app.overops.com in the Manage Environments window.
- Select the "Install agent and collector" option and click Next to continue.
- You can now click Install to begin the installation, or select advanced options by clicking Advanced.
- Specify an alternative path to the Java installation path (for the Collector) and then click Next.
- Proxy settings: If required, enter your proxy settings and then click Next. To verify that the proxy settings are correct, click Test connection.
- Alternative installation path: If you chose to install OverOps in a location other than the default (
C:/Takipi), enter the installation path here and then click Install to begin the installation process.
- When the installation completes, click Finish.
- Open the
collector.propertiesfile in the Takipi folder and addtakipi.listen.port:<listen_port>at the end of the file. - Replace
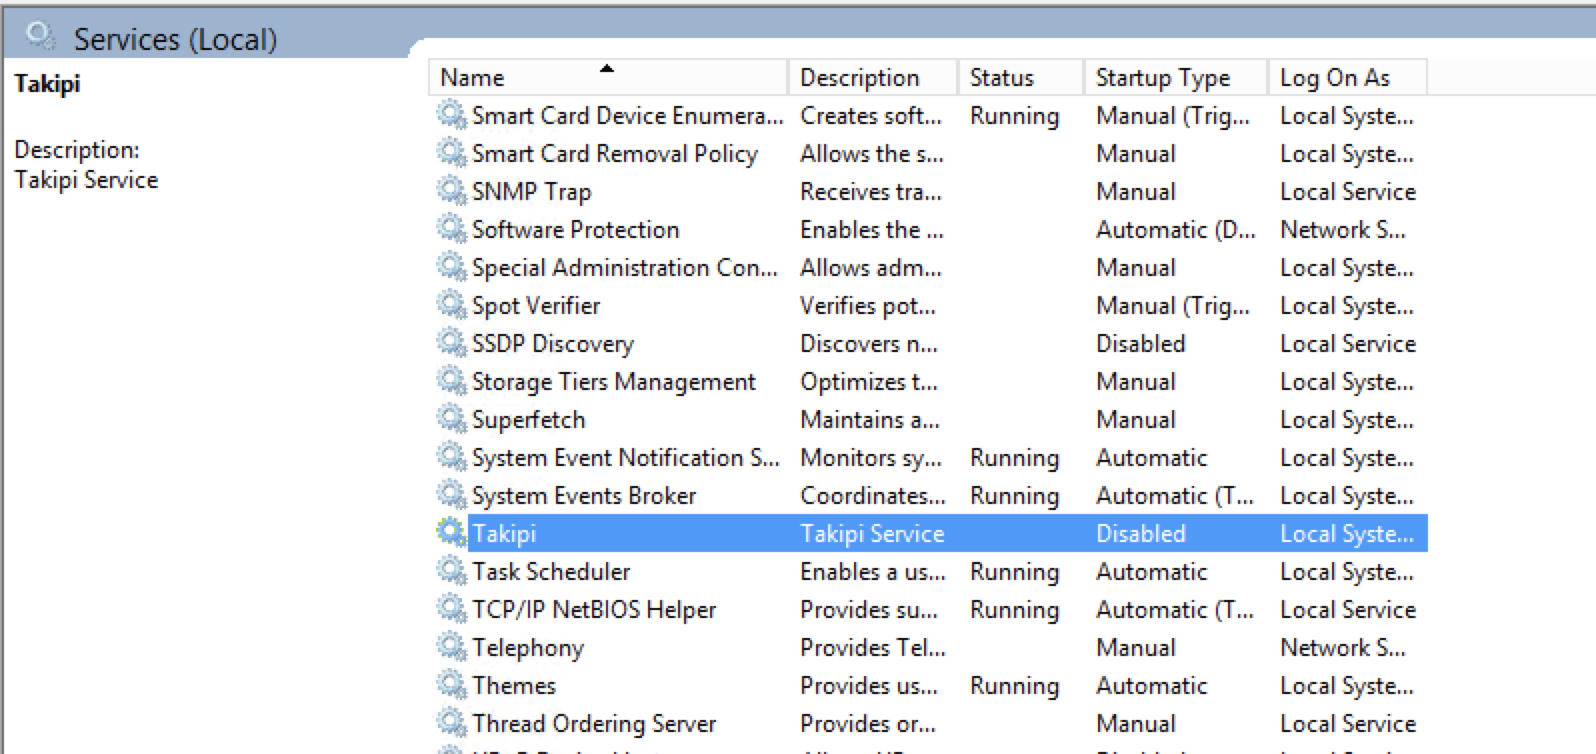
<listen_port>with the port the Collector will listen to for inbound requests from the Micro-Agents. OverOps uses Port 6060 as default! Make sure to populate thetakipi.listen.porteven when using the default port. - Go to Windows Services and find the Takipi service.
- Restart the Takipi Service to verify that the port change takes effect.

Attach the Micro-Agent to Your Application
- Follow the steps to attach the Java Micro-Agent. After the connection is established, the application status will show that OverOps is active.
- Verify that your application throws exceptions.
Silent Installation
-
Click here to download and run the OverOps MSI installer.
-
From an administrative command line run:
msiexec /i [path\to\Takipi.msi] SK="[installation key]" /quiet
(the "are important here as the key might have chars that could be parsed by the command line)
Reinstallation of the Agent and CollectorIn case of a reinstall of the installer over an existing one, you should run the following:
From an administrative command line run:
msiexec /i [path\to\Takipi.msi] REINSTALL=ALL REINSTALLMODE=vomus /quiet
The installation will fail if the MSI is of an older version than the one installed!
Optional command arguments
|
Argument |
Description |
Default |
|
SK |
Mandatory - Environment Key |
N/A |
|
INSTALL_COLLECTOR |
Optional - Install Collector 1=Yes, 0=No |
1 |
|
COLLECTOR_HOST |
Optional - Domain name or IP address of the Collector |
blank |
|
COLLECTOR_PORT |
Optional - Port number on which collector is listening. Typical default is 6060. |
blank |
|
SUPPORT_DOT_NET |
Optional - Install .net micro Agent libraries 1=Yes, 0=No |
0 |
Updated 9 months ago
