Install a Collector on Windows
This section describes the OverOps Collector installation on Windows. The Windows installer (wizard) installs logical artifacts for both the Collector and the Micro-Agent. Because we're using the Collector on a separate machine we won't use the Micro-Agent installed with the Collector..
This article describes how to install an OverOps Collector on Windows for a .NET Micro-Agent. Remember to verify that you have these software and hardware requirements in place before beginning.
Prerequisites
- You'll need an installation key for this procedure. The key is provided by OverOps for each of your environments.
- Verify that Java is installed.
- You'll need an installation key for this procedure:
- If you reached this article from the OverOps application, you were provided a key before reaching this document.
- You can also get this key by going to the Settings page, clicking Manage Environments in the top right corner, and copying the installation key of the environment that you're installing.
Install the Collector on Windows
- Download the latest MSI installer for the .NET Agent/Collector - download link.
Note that the OverOps MSI deploys the relevant files (.dll, libs, db) under the OverOps directory (C:\Takipiby default). - In the Welcome screen, click Next to run the installer.
- Define your installation preferences:
3.1 Enter your installation key (aka secret key), which you can find in your welcome email or in app.overops.com in the Manage Environments window.
3.2 Select the "Install agent and collector" option. - Click Next to continue.
- Set the source and PDB location:
5.1. If you want your sources to be attached automatically to the Automated Root Cause (ARC) screen, enter your source location. Providing the Source Path location enables OverOps to attach your sources automatically when resolving an event.
5.2 Make sure that the 'Install .NET agent' option is selected.
5.3 Enter the Program Database (PDB) path to the Micro-Agent.
Why is the PDB File Path Necessary?The PDB is a file for storing debugging information about an application, which is generated during the compilation phase. OverOps uses this file to extract variable names. When compiling and running on the same machine, the default location will be near the generated EXE.
For OverOps to fully diagnose your errors and exceptions, it needs to have access to the PDB files. If you don't specify the path, the ARC screens will only provide partial and inaccurate information.
5.4 The Dump files option is selected by default; if you clear it, OverOps will not receive information about any problems encountered by the .NET Micro-Agent.
6. Click Next to continue.
- You can now click Install to begin the installation, or select advanced options by clicking Advanced.
- Specify an alternative path to the Java installation path (for the Collector) and then click Next.
- Proxy settings: If required, enter your proxy settings and then click Next. To verify that the proxy settings are correct, click Test connection.
- Alternative installation path: If you chose to install OverOps in a location other than the default (
C:/Takipi), enter the installation path here and then click Install to begin the installation process.
- When the installation completes, click Finish.
- Navigate to the collector.properties file in the Takipi folder.
12a. Add add takipi.listen.port:<listen_port> at the end of the file.
12b. Replace <listen_port> with the port the Collector will listen to for inbound requests from the Micro-Agents. OverOps uses Port 6060 as the default! Make sure to populate thetakipi.listen.porteven when using the default port.
12c. Write down the port number you selected and domain name / IP address of the machine you installed the Collector on. You'll need this information when setting up the Micro-Agent.
Silent Installation
see here
Verify the Installation
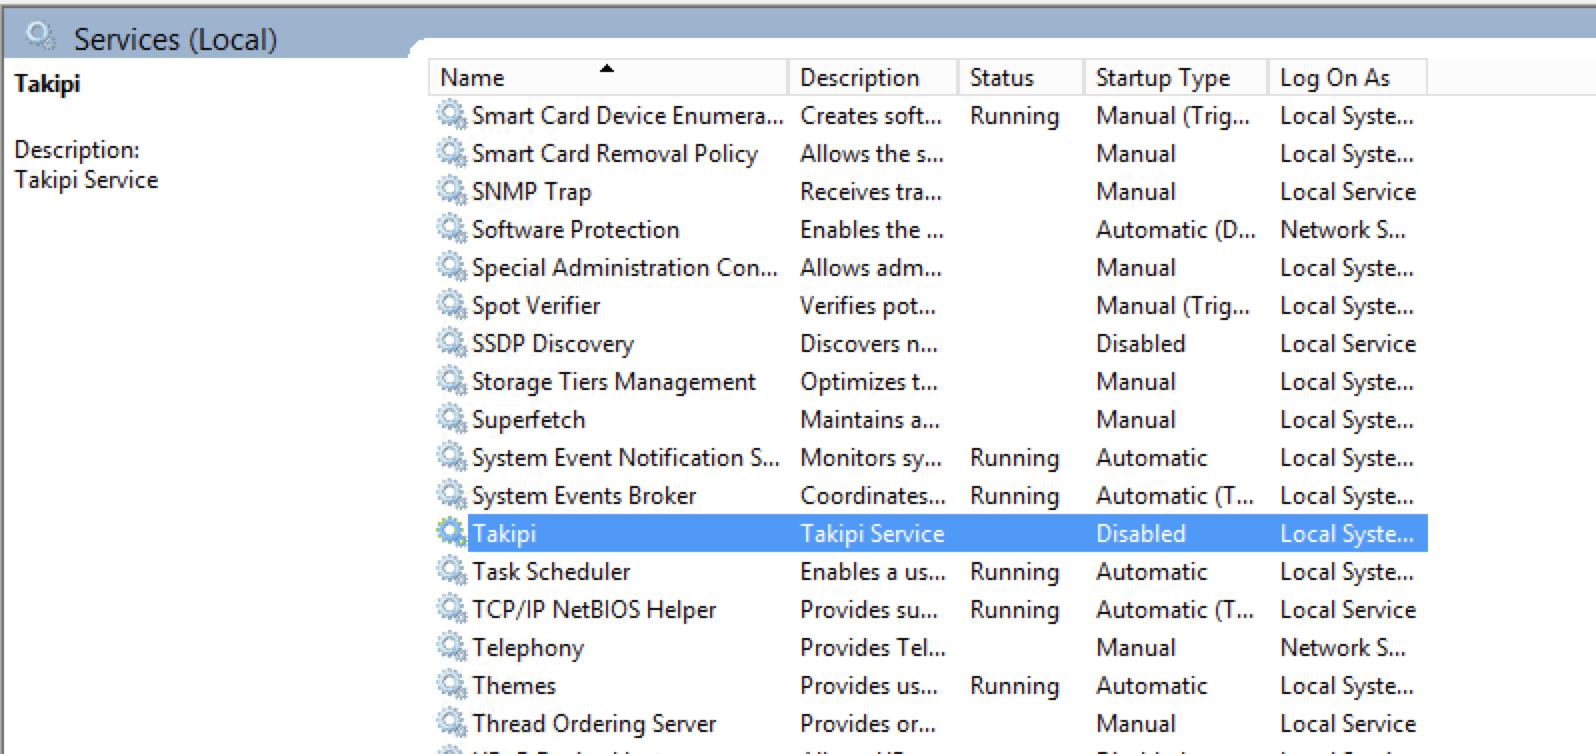
- Go to Windows Services and find the service Takipi.
- Restart the Takipi Service to verify that the port change takes effect.

Updated 9 months ago
